Pattern Box: Organizing On a Budget
New patterns boxes are nowhere to be found. With all this extra lockdown time, I’ve been working at organizing my sewing space in the craft room. I have some very functional patterns boxes I purchased in the ’80s. They needed a serious make-over! I decided to have a little fun with decoupage … a skill I learned in my 4-H years.
What is decoupage?
Decoupage is an easy technique, which does not require any particular artistic skill. It’s a great first project for kids and teens exploring crafting.
The technique consists of cutting (it comes from the French word découper, to cut) pictures and images from newspapers, books, wrapping paper, and glue them with vinyl glue on the object you wish to decorate, which could be made of wood, fabric, glass, metal or ceramic. Then, varnish and sand the surface to make it smooth. Sometimes I skip this step.
In the beginning, decoupage was a technique used to modernize and embellish old pieces of furniture, but today it is used to decorate any object and material. There are many books and online tutorials to learn this technique. Here is a great blog post to explain the finer details.
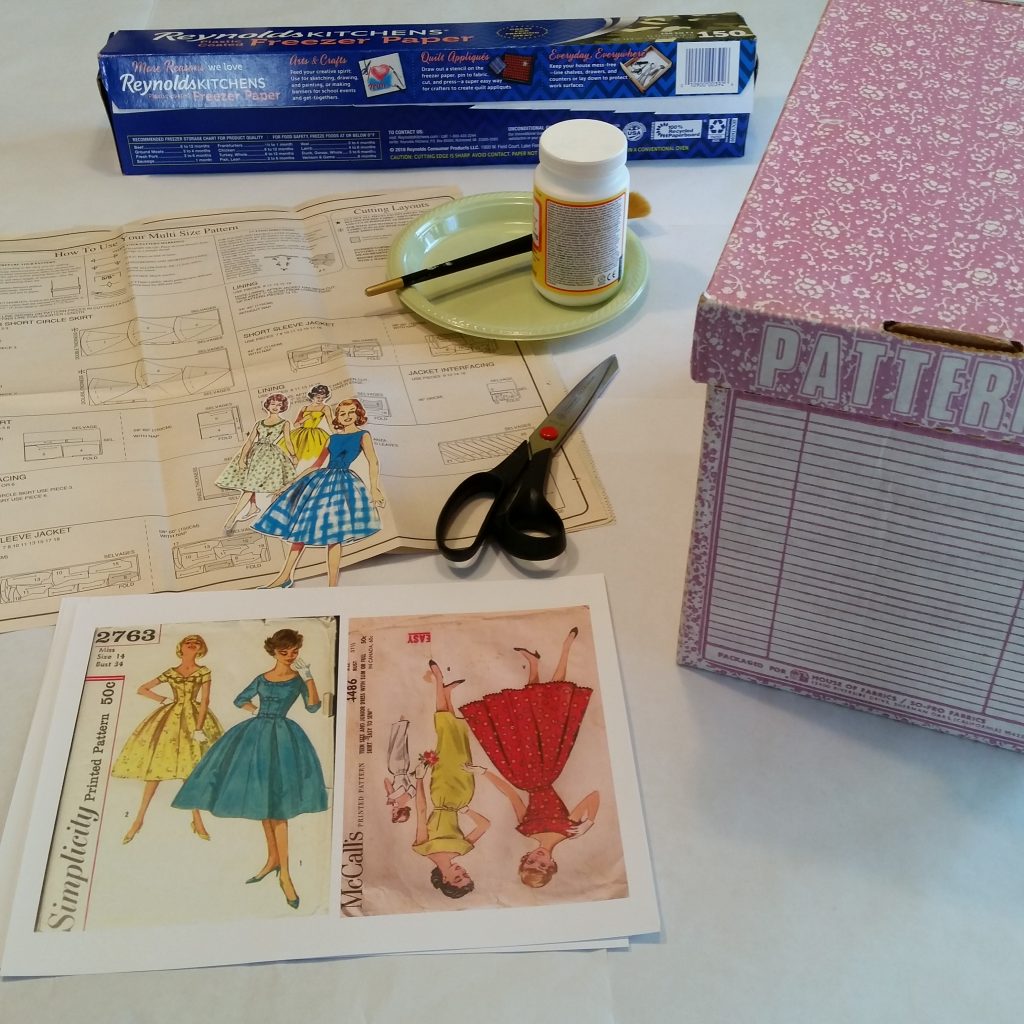
Pattern Box Make-Over Material List
- Mod Podge Glue
- Vintage Patterns and Images
FYI … I don’t recommend destroying vintage patterns. Make photocopies of images to use on the box. I sacrifice original pattern instructions, but only a few I had purchased for .50 at a thrift shop. - 1-inch Brush
- Scissors
- 2 Pattern Boxes
- Paper or Cloth (to protect your work area)
- Wax Paper
Celia’s Craft Room Tips:
- Using small sharp scissors makes fussy cutting easy.
- The old rule less is more applies here.
- Don’t overthink it.
- If this is your first experience with decoupage try experimenting on a smaller scale with the same type of material you are using on the larger-scale project.
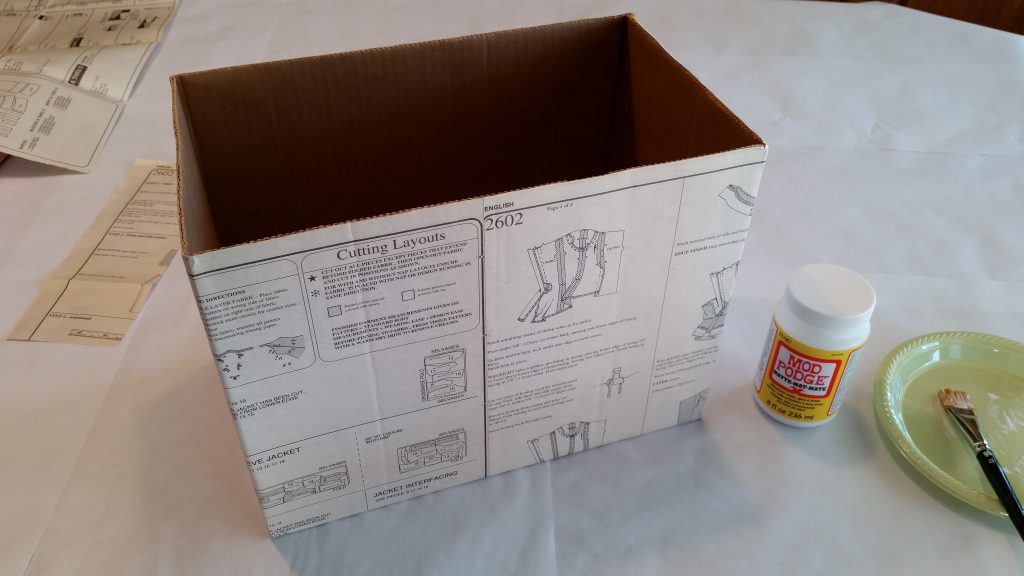
Step 1
Cover your table serfce to protect it from glue drips. Gather supplies and cut out your images. Audition your paper pieces for placement. Once you start gluing the paper to your box, you will not have time to fuss as the glue dries quickly.
Step 2
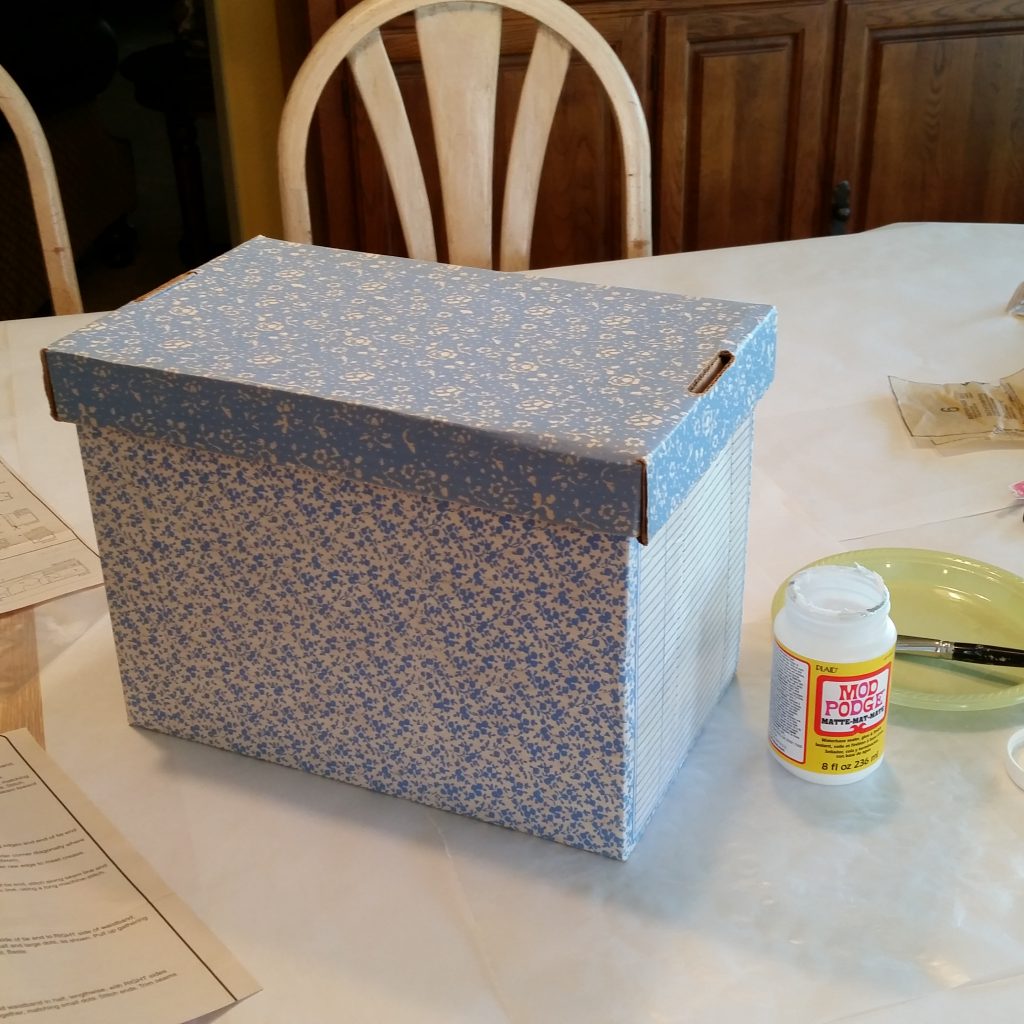
Mod Podge both surfaces; the pattern box and the back of your pattern instruction paper. Lay your printed images on top of wax paper! The wax paper will help prevent the images from sticking to your work surface paper. Apply a medium layer of Mod Podge to both surfaces; the glue will be white. Work quickly since Mod Podge dries quickly. Smooth the paper and let dry for 15 – 20 minutes.
When gluing the large pattern pieces to the box. I smoothed from the center out with my hands. If you are getting too many wrinkles and bubbles maybe you need to apply more Mod Podge to your surfaces. Allow the surface to dry between layers. Sometimes my pattern instruction paper wrinkled even if I allowed plenty of drying time. I believe it was because the boxes were older and had some flexibility to them.

Step 3
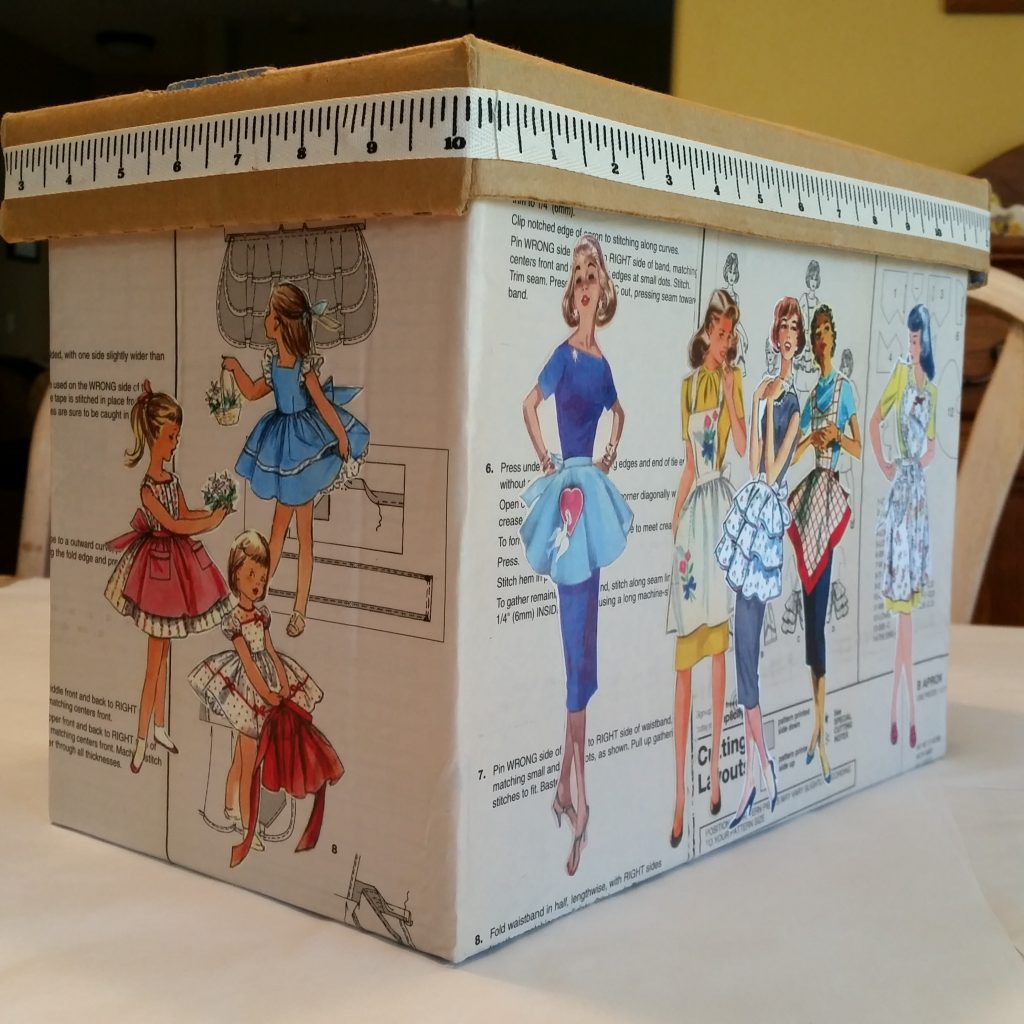
After I had all my layers tacked to the surface I allowed it to dry for two hours and then I applied a final thin coat to seal the surface. The lids on the boxes were reversible. The craft brown looked great with the design, but I felt it needed one more element. I found the measuring tape ribbon at a local craft shop. I tried to glue it to the box, but the glue distorted the ribbon and I ended up using tear tape, double-sided tape, to secure it to the box.
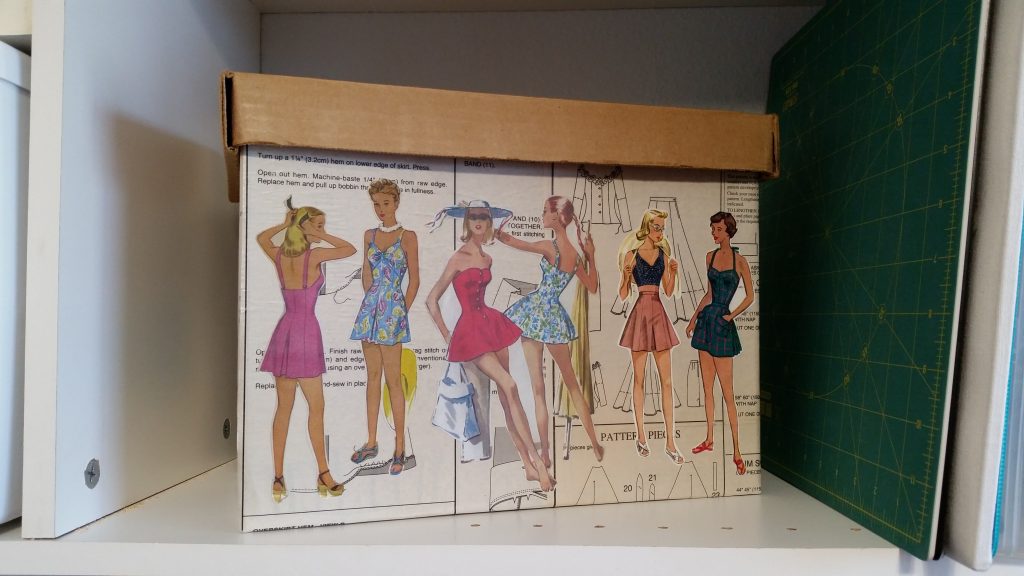
What do you think? What does your pattern box look like? Does it need a make-over?
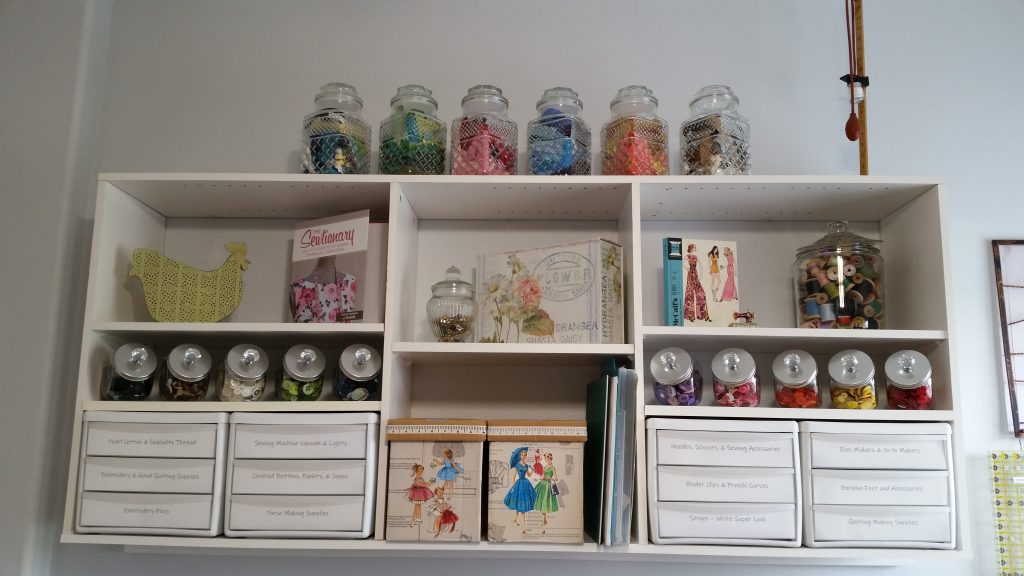
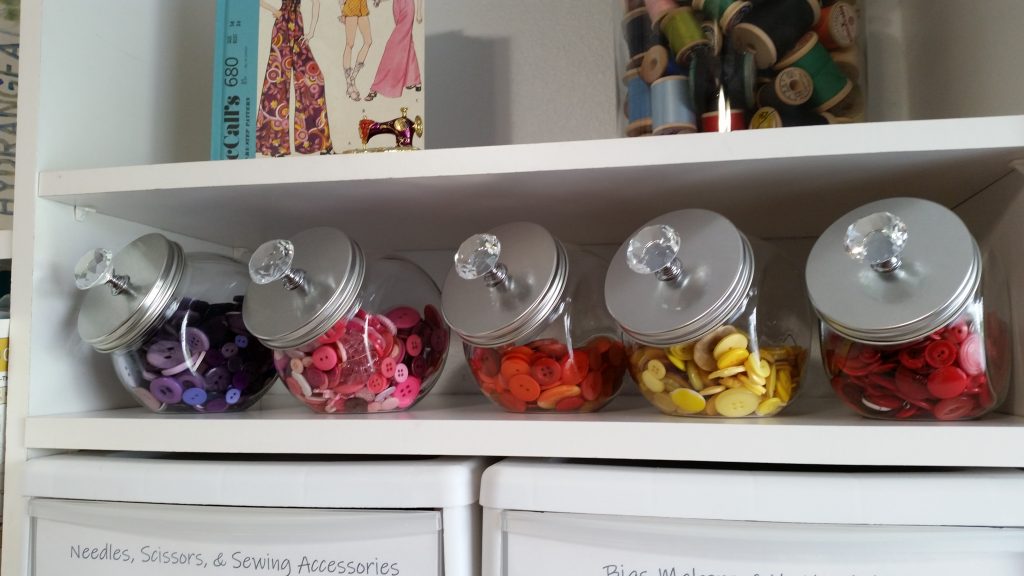
And here is a look at where the pattern boxes live. Yes, I love zippers, buttons, and thread. Jars for the zippers were a thrift shop find. The vintage spool jar was a gift from a friend. Candy jars for button storage were from the Dollar Store. The glass drawer pulls were from a discount store and glued on with E600 glue.
Happy Crafting!
![]()